
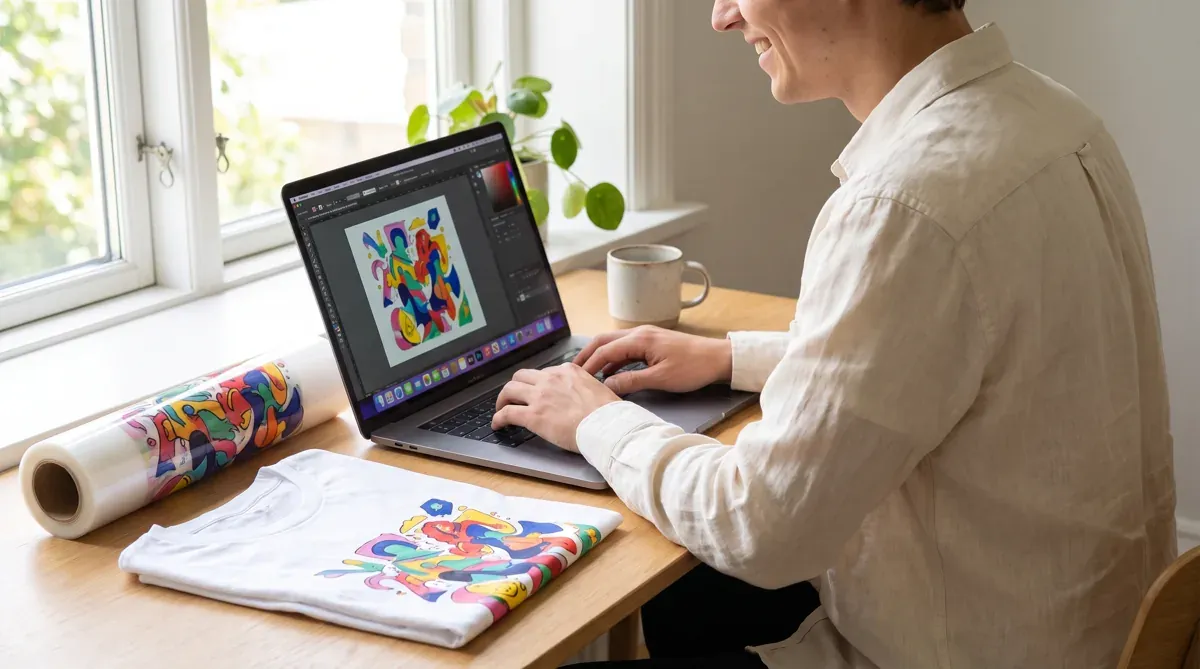
Our online designer makes ordering DTF transfers simple — upload your art, place it in your transfer size, and check out in a few minutes. Here’s the step-by-step.
Step 1 — Choose your size
Pick your transfer size from the dropdown. The print area updates to match, with the dimensions shown right on the box so you can see exactly how big your design will be. Not sure? See how to choose a transfer size.
Step 2 — Add your image
Upload your artwork (PNG, JPG, WEBP, GIF, or PDF, up to 100 MB). Then you can:
- Drag to position it inside the print area.
- Resize using the corner handles — the live size label shows the real printed dimensions.
- Center it horizontally or vertically with one click.
- Remove the background right in the editor if your file isn’t already transparent.
For the sharpest result, start with a high-resolution image — see how to prepare artwork.
Step 3 — Set your quantity
Enter how many transfers you need (minimum 100). Volume pricing means the per-transfer price drops as your quantity goes up.
Step 4 — Check out
Review your order and pay securely. We print and ship within 48 hours.
Tips
- Your settings are remembered if you leave and come back — and there’s a Reset button to start over.
- Want pre-cut transfers? Choose that option so they arrive ready to press.
- Need a custom size or a gang sheet? Call +1 (800) 815-5797.